AV-Racer Devlog (2): Making maps and the editor
est. reading time: 5 minutes
So, we have a working car model, the car renders to the screen and drives fine around a placeholder map, what's the next step? We need to put the car in a racing environment and that means making proper racetracks.
Designing the tracks
The first step was drawing the tracks. The first mock up I made was done using a raster drawing application which very quickly proved to be a bad approach, raster drawings did not scale well and the difference in resolution between the track and the cars was very stark and made the game look cheap. The better approach was to use a vector drawing app, so I settled for Vectornator on the iOS and never looked back.At first, I begin with a canvas of 7500x7500px and draw a Bezier curve of the track, as an F1 fan this process is the most fun as it included coming up with corner and straight layouts that would be fun to drive.
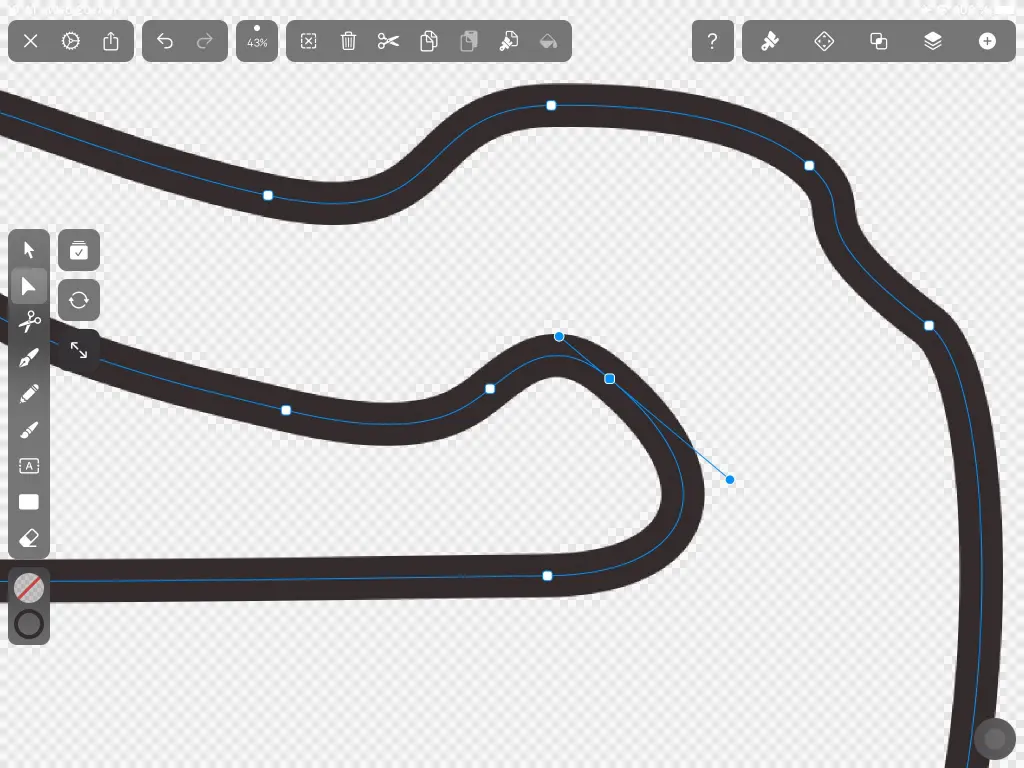
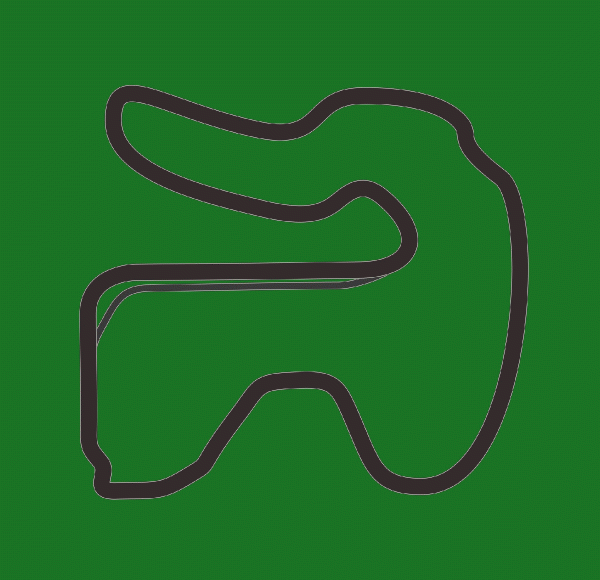
After having the track layout set, I hand drew the walls, run off areas, rumble strips and track facilities, this process takes around an hour to an hour and a half. Having the vector data, I could then export an image of consistent quality and an outline image to be used in the game.
The Editor
Next, I had to put the track in the game, the problem seemed as trivial as just rendering the image of the track. However, questions arose that were a bit tricky to figure out. Things like how to make the car interact with the track walls, react with road surface vs. offtrack surfaces, or figure out where the car is relative to the track to program AI. For the game, the track image was a meaningless set of pixels and without supportive data, it was useless.These issues indicated I needed a framework where the game's engine can understand that from this jumble of pixels there's specific defined areas and lines, I needed a way to generate and regulate track metadata.
The simplest way I could think of to convey that information is by point and line segment data, i.e. lines that trace track boundaries and walls and define where everything is in relative map space so that the game engine can use the information. Those points and lines must be hard-coded with each map and didn't change. But how would I record that information conveniently? I needed an editor.
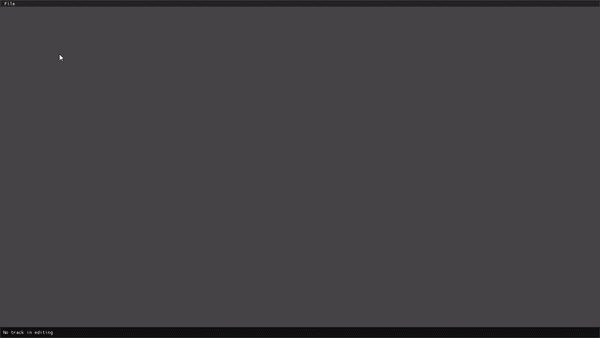
I started writing a separate editor for the game that simply allows me to import a PNG and place points and lines on it, I set it up with SDL and ImGui and the thing was up and running quick.
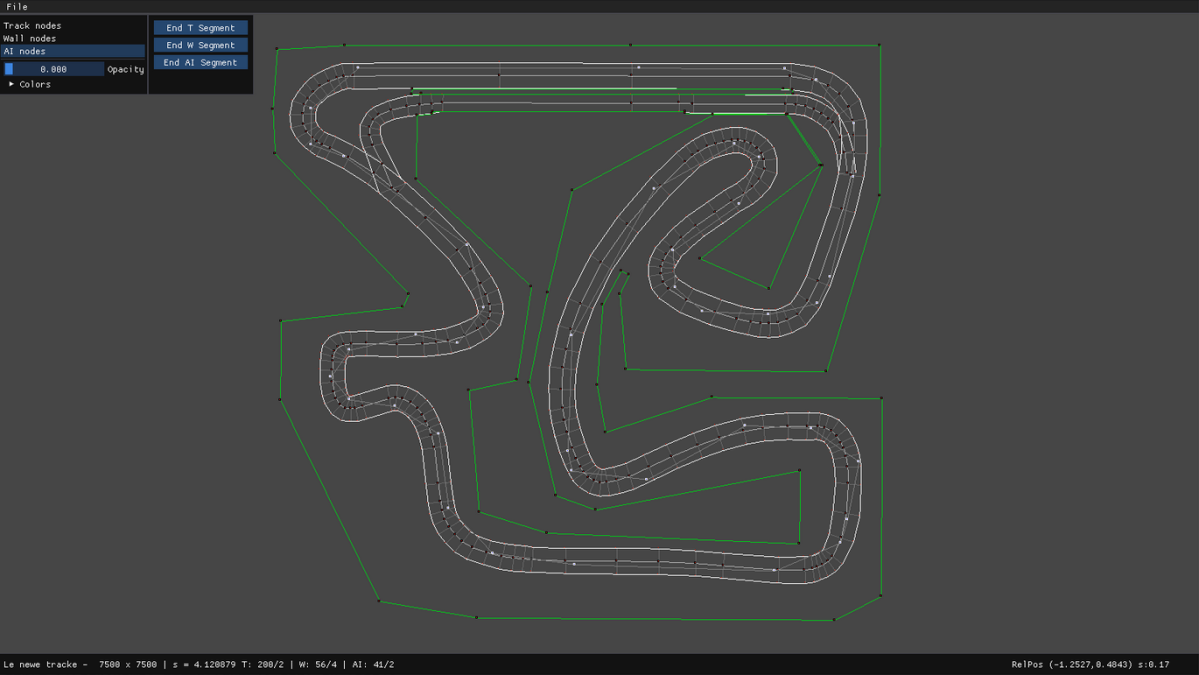
In the editor (which is not shipped with the game) the map data revolves around “nodes” of three distinctive types: track nodes, wall nodes, and AI nodes. Track nodes have each two sub-nodes left and right of each node and define the track's boundaries. This three point system allowed to define the convective track blocks as triangles which helps to calculate the car's position with simpler operations.
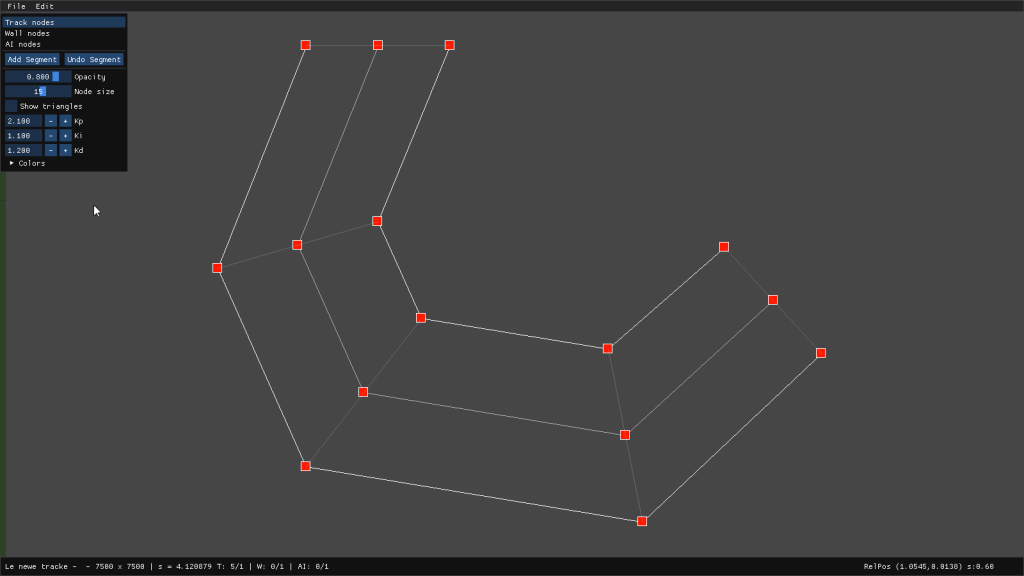
Wall and AI nodes are simple singular nodes. Consecutive nodes form line segments that connect the points with each other which allows me to trace the track layout with relevant information, stored in relative map space form [-1,-1] to [+1,+1]. The data is stored on the heap and the arrays extend with every additional node.
A simple undo button removes the last placed node, I didn't bother with a robust undo and redo system, so the usage was limited.
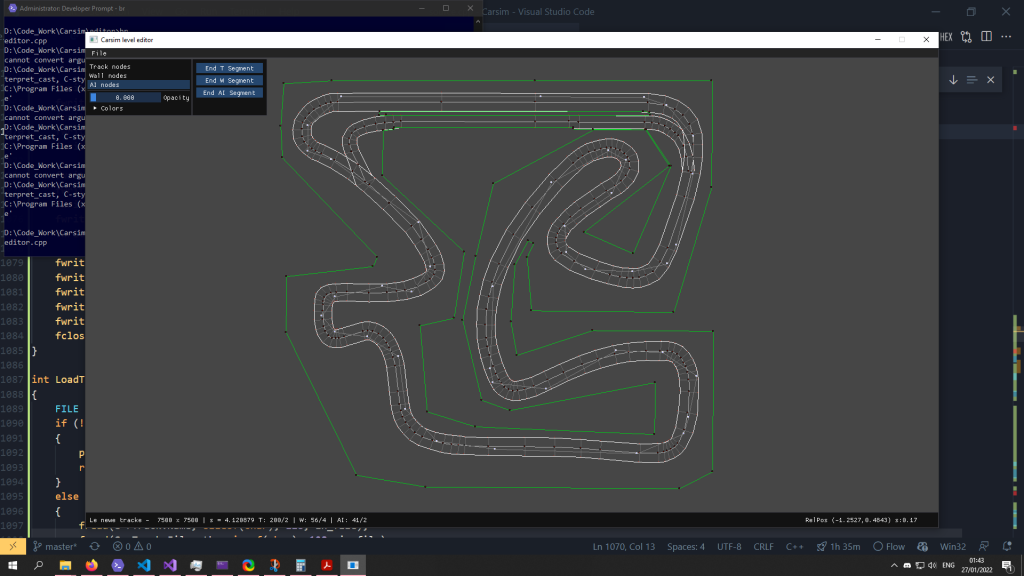
There is also a segment system, which allows me to have independent wall segments (observe in the track there is outer and inner wall rings, and they are not connected). The segments use a very basic bookmark system. Which means the arrays of the nodes are in each category in a single array, and a separate bookmark array stores the indices of nodes at which the respective segment ends. This method allows us to store multiple lists of items of the same type in a single array with a supportive bookmark array.
With the segments and nodes defined, the track was ready to export. I pack all relevant map data in a single .CST file, CST stands for Car Sim Thingy, which was the original name of the game prototype. The file includes the compressed image of the map, alongside the image of the map outline, and the metadata of the track, wall, and AI nodes, track and file name. The CST file also includes information pertaining to the AI on the track like node speeds and PID controller coefficients, which we will talk about next, as that information is recorded inside the game.
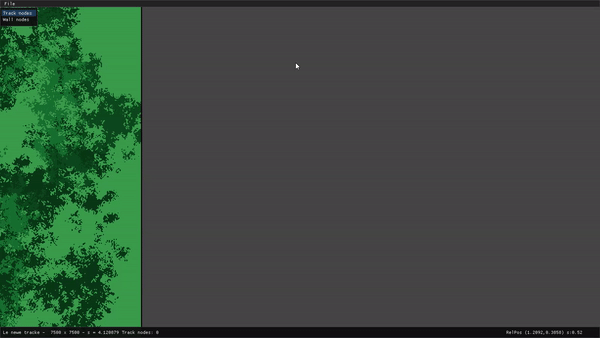
In Game
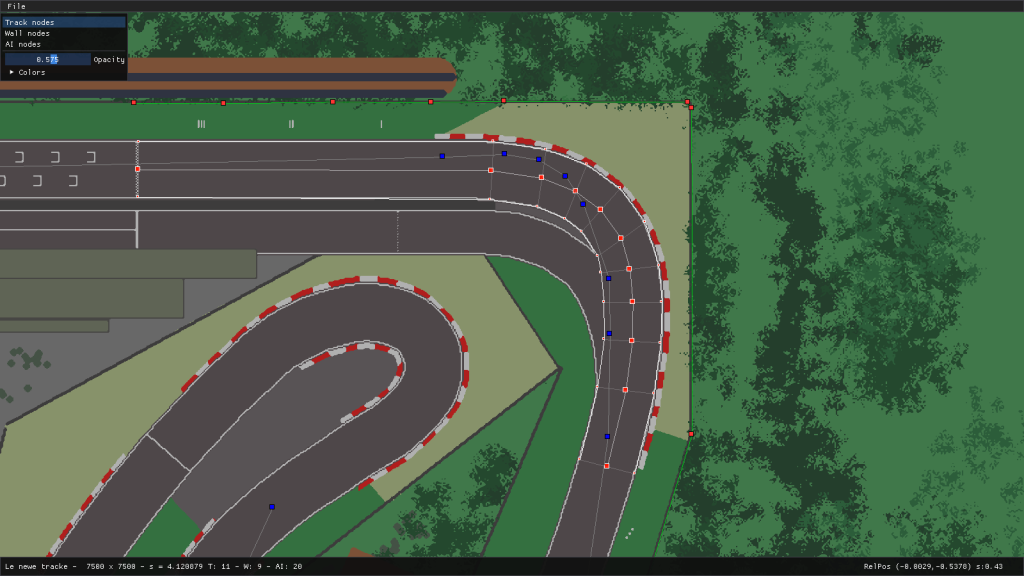
The game scans the tracks folder and detects the number of CST files and loads the track names and outlines to display in the game. Loading a track opens the respective CST file, generate a texture from the image and loads the metadata, converting them from map space to sim space. In the game, in debug mode, an AI setup menu I created helps me finish up the CST file. I run the AI with manual gas and brake input and record track node speeds and adjust the PID controller's coefficients which determine the AI's approach to cornering and input in this particular track which can be adjusted to best fit the track layout (more on the AI in a separate post). After that, I write the recorded data onto the same CST file, and the setup is finished. We now have a track file with all relevant information for the game.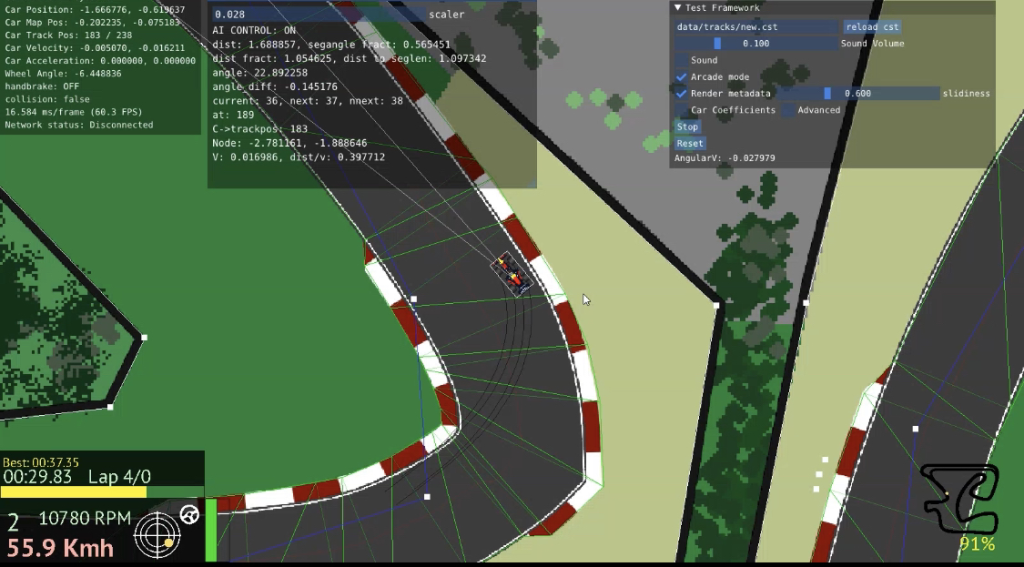
The game now can use the track nodes and the triangles constructed between them to determine whether the car was on the track or off it, and at what part of the track it was. The AI nodes help assist the AI's steering and gas and brake input. The wall information get used in the physics engine to detect collision and resolve it.
The total time spent to make one track from scratch was between one and two hours in total.
It is worth noting that it may have been better to write the editor inside the game itself as a part of it. I honestly never thought of that approach until I already wrote the editor and I remained with that.
-Wassim